
Creating a Product Set
- In the Report Builder screen, go to the Product Set section and click the + button.

- In the popup, give your product set a clear, descriptive name.
- Select the products you want to include — you can choose by vendor number, department, class, User Defined Attributes, Custom Item Groups, and more.
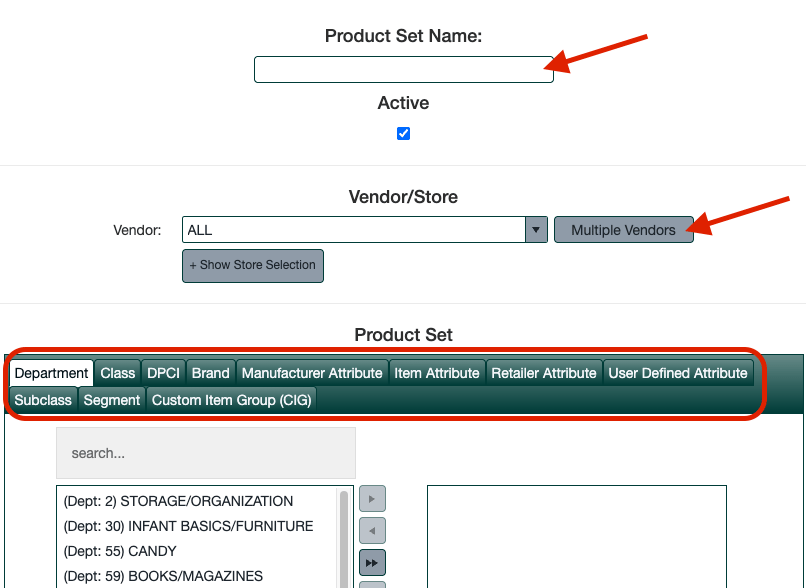
- Click Save Product Set.
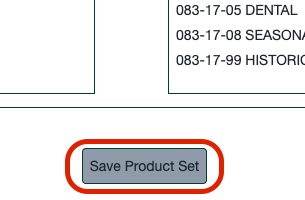
- Back in Report Builder, click the Product Set dropdown and select your new set by name.
Editing a Product Set
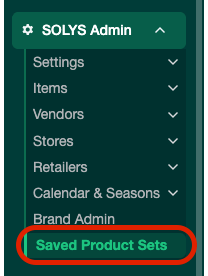
- Navigate to SOLYS Admin → Saved Product Set Admin.
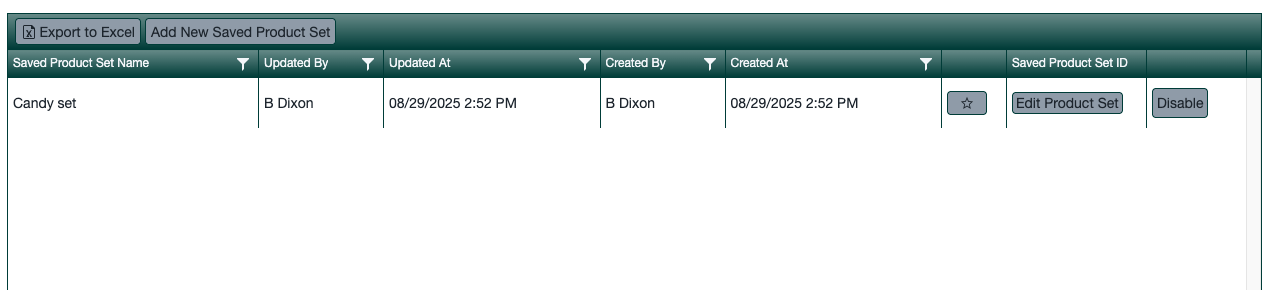
- Find your product set and click Edit Product Set.
- Adjust your selections as needed.
- Click Save Product Set.
- Disable a product set you no longer use.
- Click the Star icon to favorite it — it will appear at the top of the dropdown in Report Builder.