
Saving a Canned Report or Script
- From Report Builder, select the Canned Report or Canned Script you want to save.
- Click Configure Report.
- Set your preferences:
- Canned Reports: Choose Time Period(s), Vendor(s), Product Set, Metrics, and Group By’s.
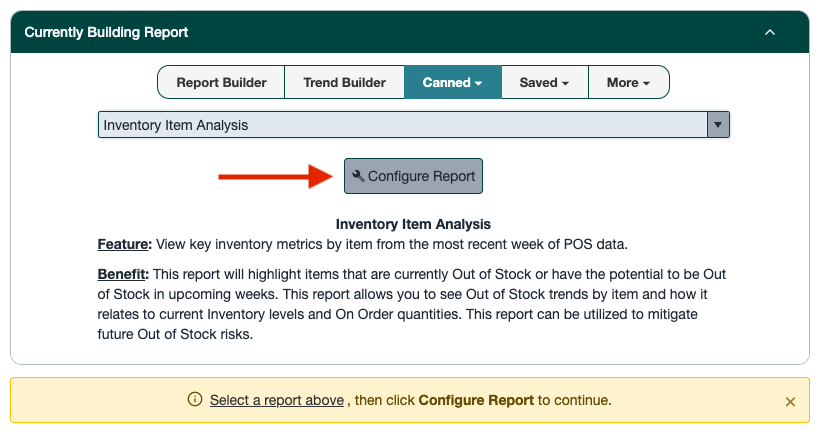
- Canned Scripts: Choose Vendor(s) and Product Set.
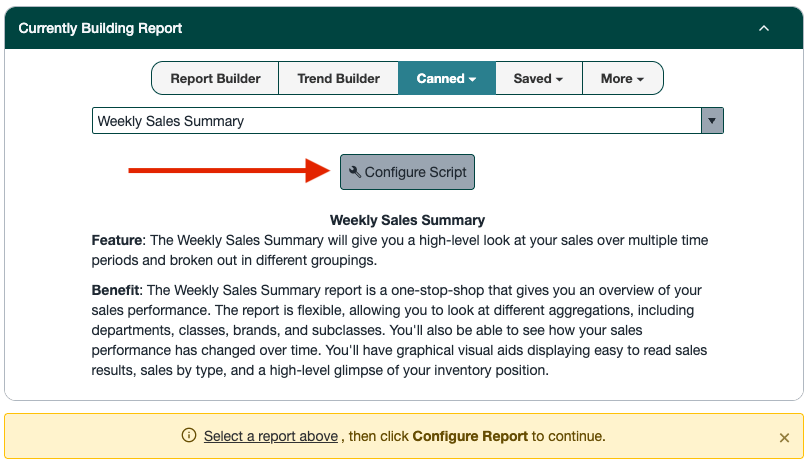
- Canned Reports: Choose Time Period(s), Vendor(s), Product Set, Metrics, and Group By’s.
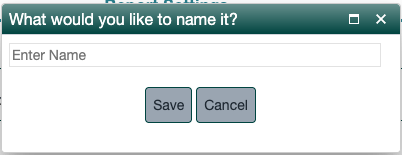
- Click Create Saved Report, name it, and click Save Report.
Scheduling a Saved Report or Script
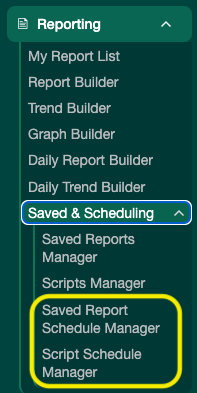
- Go to Reporting → Saved Report Schedule Manager (for reports) or Script Schedule Manager (for scripts).
- Click Add New Record.
- Select the saved report or script you want to schedule.
- Choose the day of the week and time of day.
- Optionally enter email addresses for distribution — separate multiple addresses with a semicolon. Leaving this blank is fine; the report will appear in your My Reports List instead.
- Click Save. The report will now run automatically on your chosen schedule.
