Creating a New Script
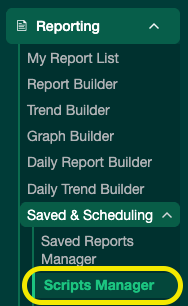
- Go to Reporting → Script Manager.
- Click Create New Script.

- Fill in:
- Script Name: Appears in the Script Manager list.
- Output File Name: The name of the exported Excel file. Avoid characters Excel doesn’t allow in file names (e.g.,
/).
- Click Create Script.
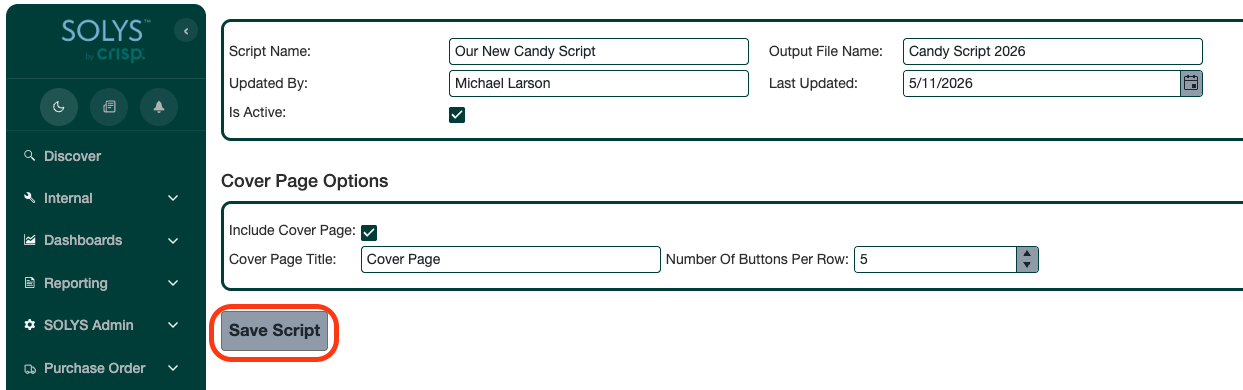
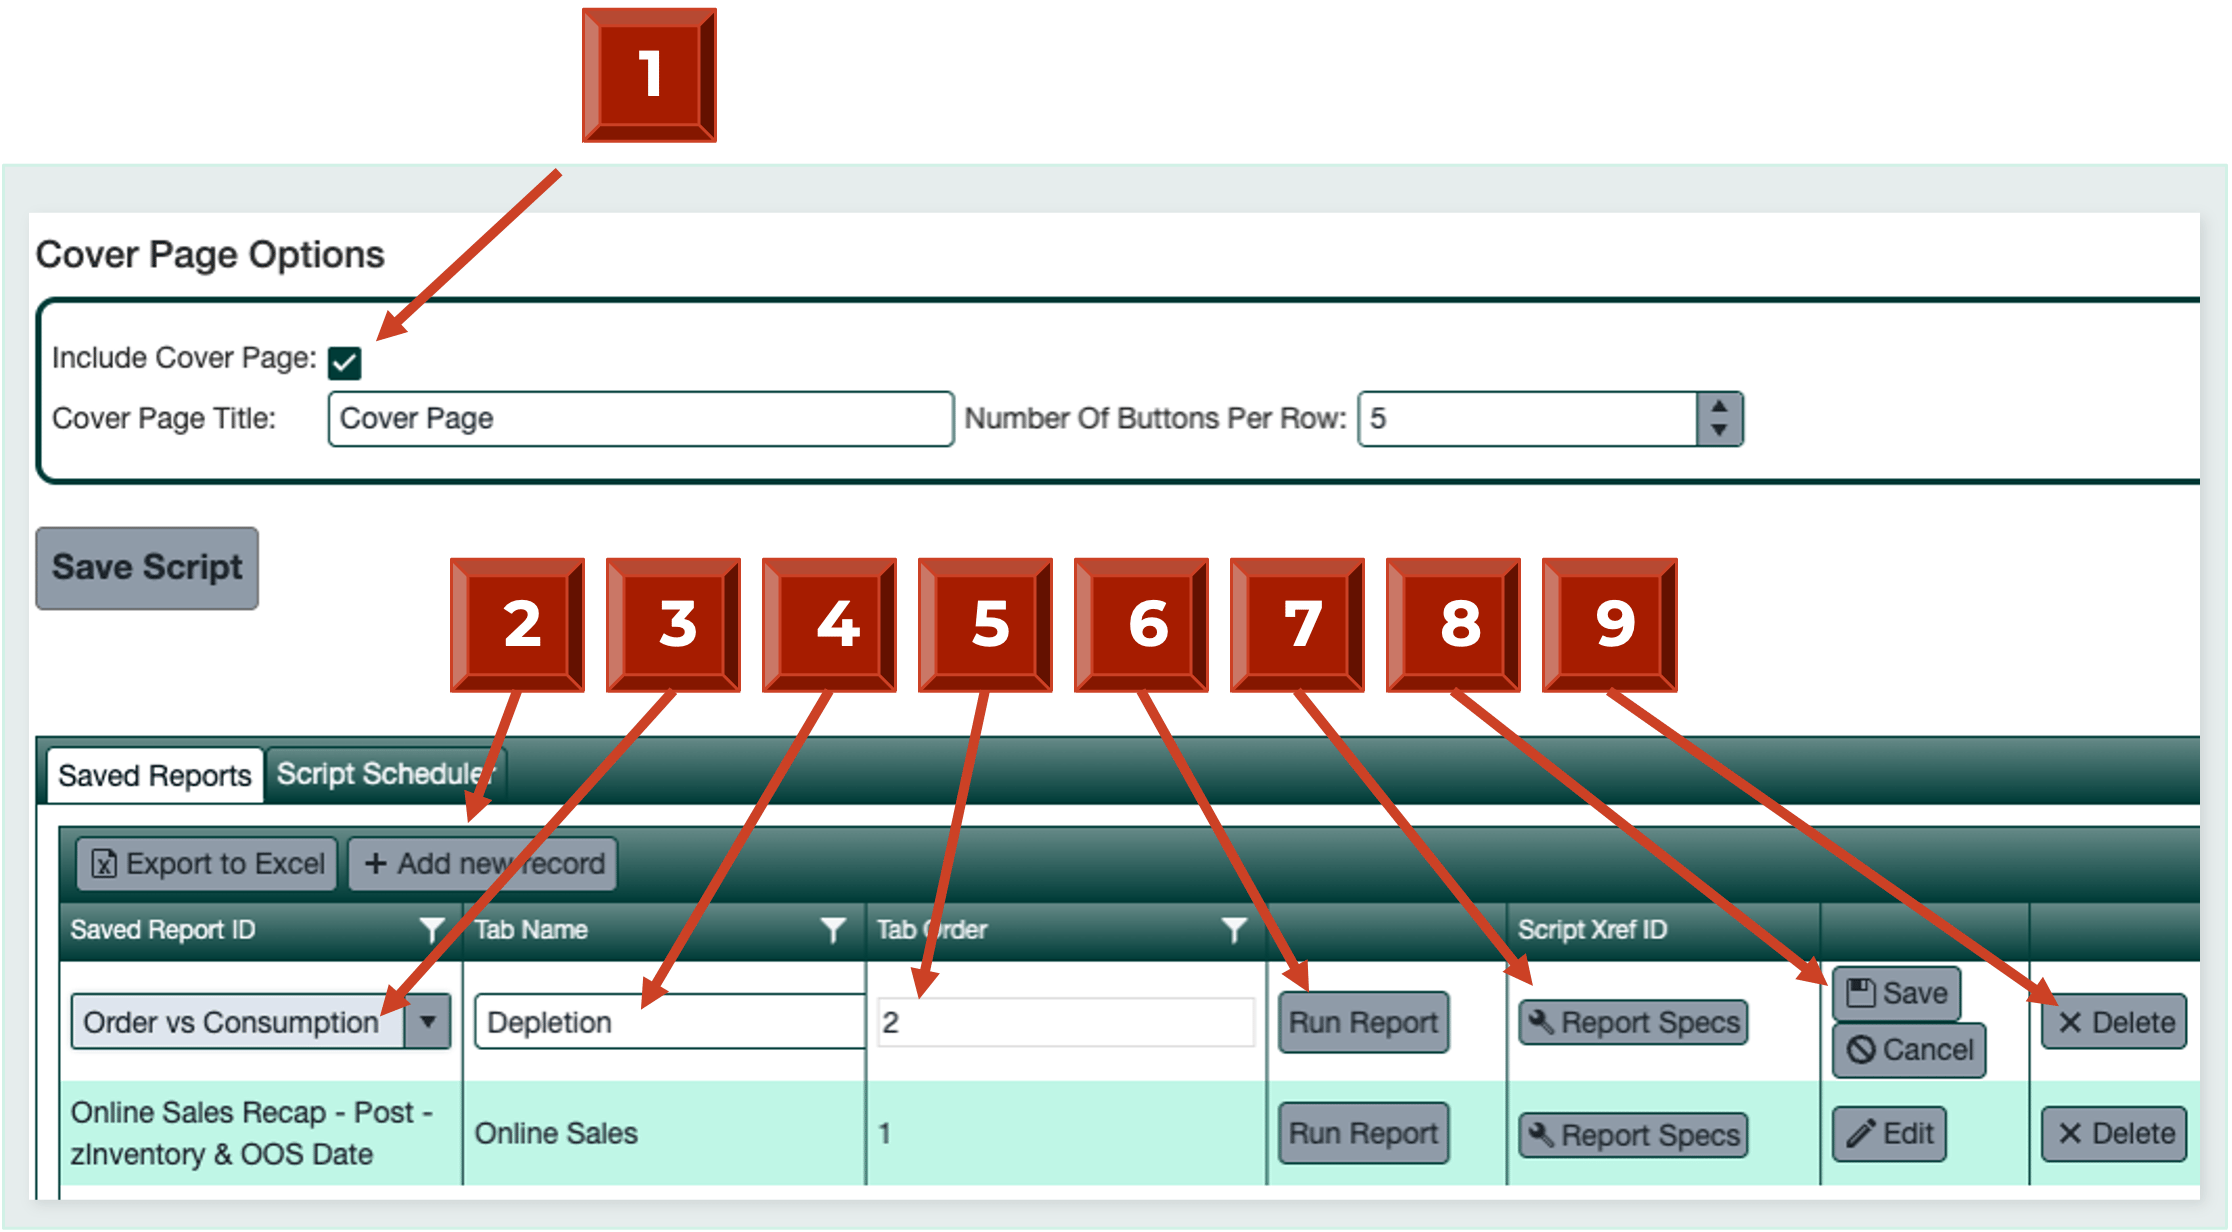
- Include Cover Page (optional): Check this box to add a navigation cover page to your script. Give it a name and choose how many navigation buttons to display per row.
- Add New Record: Click this button to start adding a report to your script.
- Choose Report: Select the saved report you want to include. Use the search box to find it more easily.
- Tab Name: Give this report a unique tab name. Do not use special characters. Tabs over 30 characters will be cut off due to Excel limitations.
- Tab Order: Choose the order in which this report appears in the exported Excel file.
- Run: Run the report from this screen to double-check that it’s the right one to include.
- Report Specs: Rebuild the report here if you’d like to make changes while keeping the same report name.
- Update: Once you’ve completed callouts 3–7, click Update to add the report to your script. You can always click Edit afterward to adjust the report, tab name, or tab order.
- Delete: Remove a report from your script entirely if it’s no longer needed.
Repeat callouts 2–8 for each report you want to include. When all reports are added, click Save Script.
Editing an Existing Script
- Go to Reporting → Script Manager.
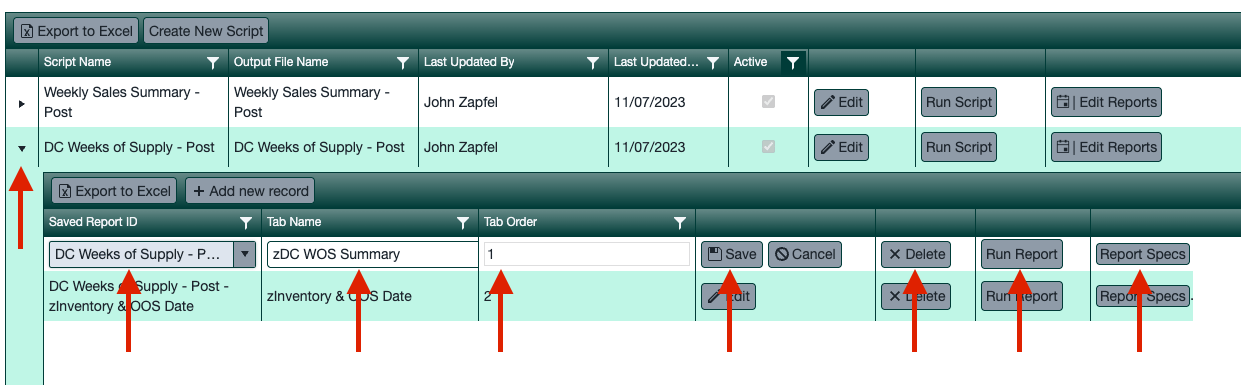
- Click the small triangle next to the script name to expand the reports list.
- Click Edit next to any report to change the saved report, rename the tab, adjust tab order, delete the report, or run/rebuild it.
- Click Save when done.