Steps
- Log in at https://solys.lumidata.com.
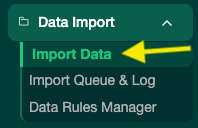
- Go to Data → Import Data.
- In the Import dropdown, type user and select the appropriate User Defined Attributes option from the list.
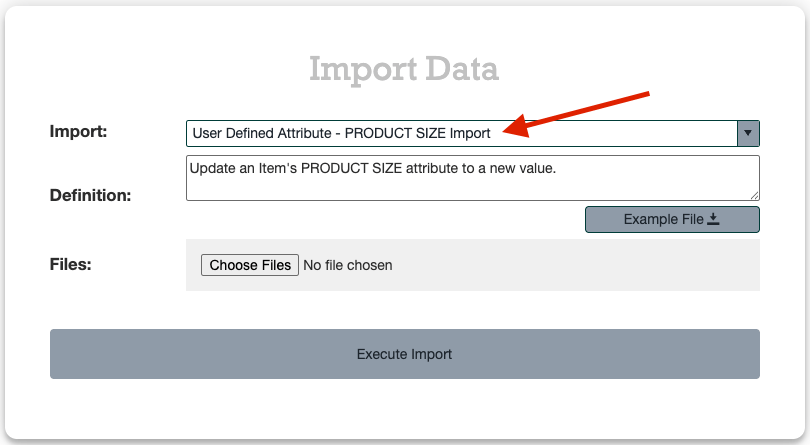
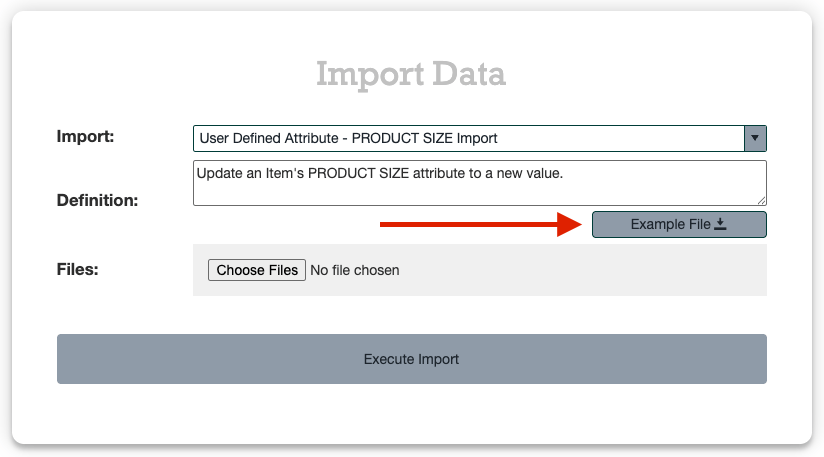
- Click Example File to download the import template.
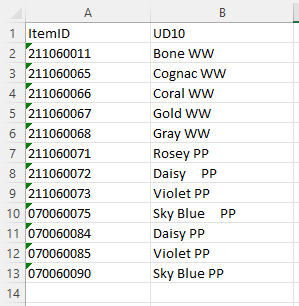
- Fill out the template:
- Do not change headers or column order.
- If pasting from another document, use Paste Values only — no formatting.
- No dashes in Item IDs. Make sure leading zeros are preserved.
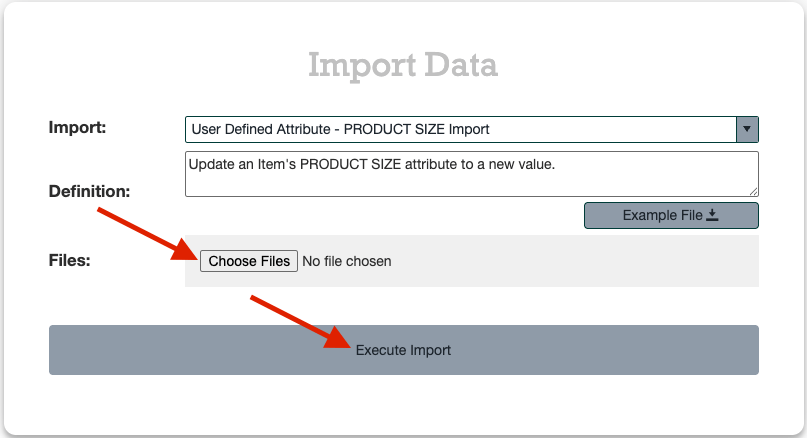
- Click Choose Files, select your completed file, and click Execute Import.
Tracking Your Import
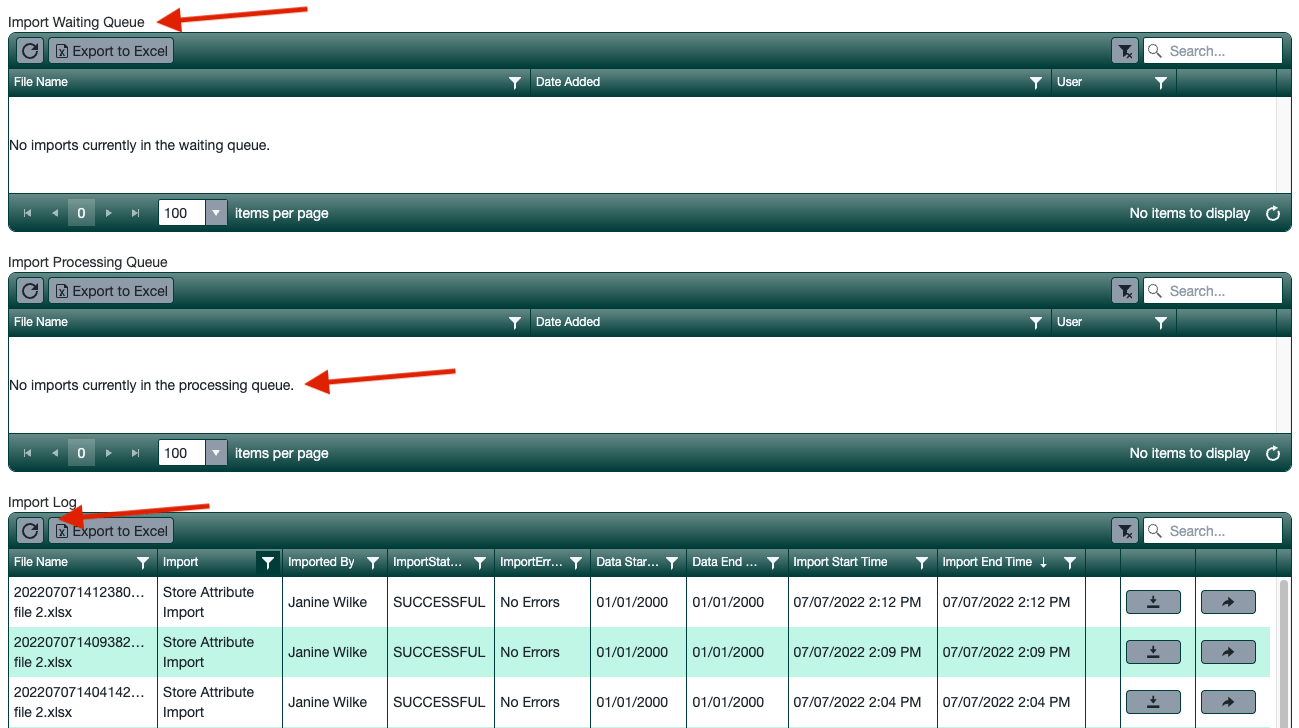
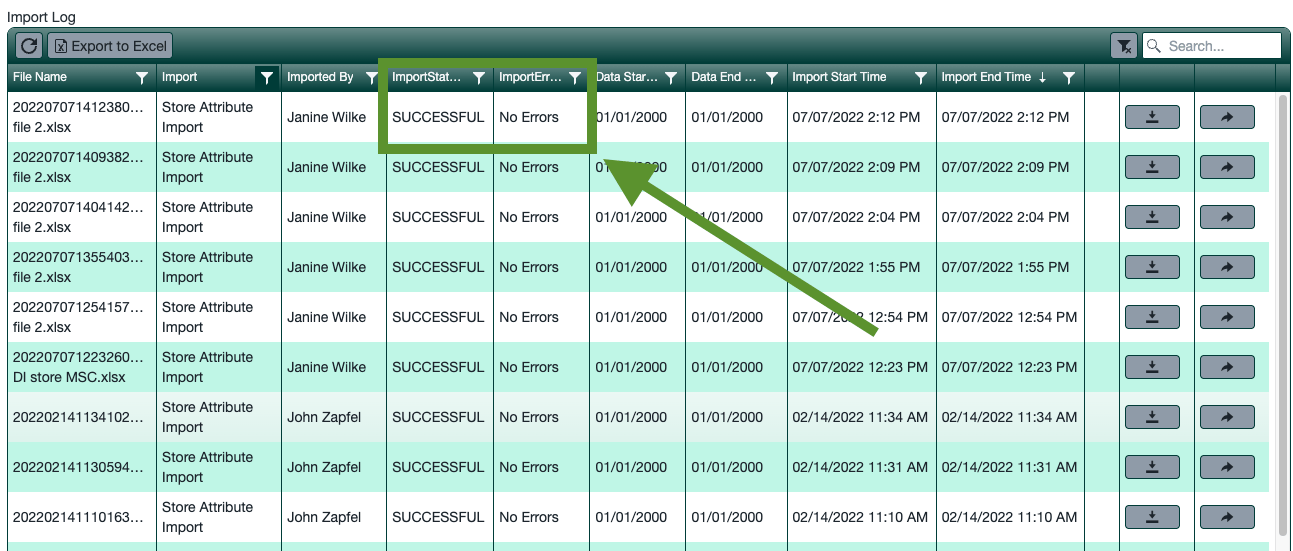
After submitting, you’ll be taken to the Import Queue & Log. Imports process every 30 seconds and move through three stages: Import Waiting Queue → Import Processing → Import Log